
Are you new to vaping and looking for a no-nonsense guide to getting started? You’ve come to the right place. Vaping can be an enjoyable and straightforward experience once you understand the basics. However, it’s crucial to be aware of vaping legalities in Canada, where regulations govern the sale, promotion, and use of vaping products.
Here’s a step-by-step guide to help you enjoy vaping as a complete beginner.
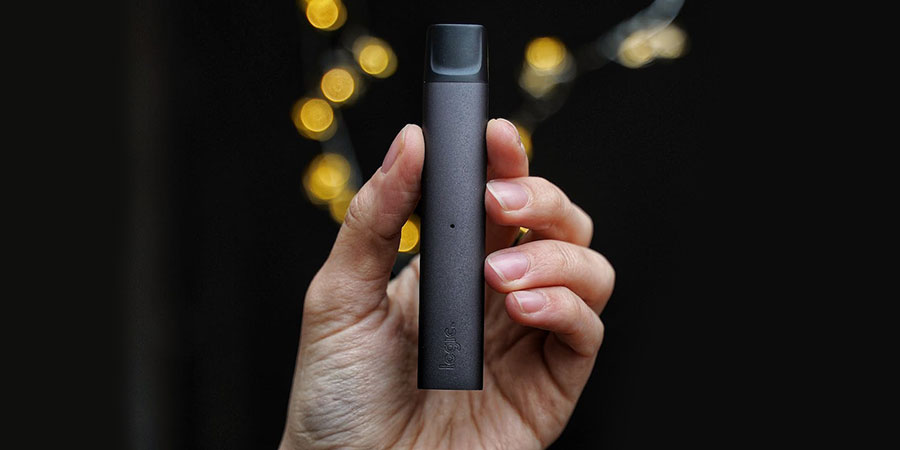
Step 1: Choosing Your Vape
The first step is selecting a device. There are many types of vapes, from small, easy-to-use pod systems to more advanced personal vaporizers.
For beginners, it’s advisable to start with something simple like a pod system or a basic starter kit. These devices are user-friendly, require minimal setup, and are perfect for learning the ropes.
Step 2: Understanding E-Liquid
E-liquid, or vape juice, is what your device turns into vapor. It comes in various flavors and nicotine strengths. When starting out, try a few different flavors and nicotine levels to see what suits you best.
If you’re looking to replicate the feeling of smoking, a higher nicotine content might be suitable, but if you’re vaping for the flavors, you might prefer a lower nicotine or even nicotine-free option.
Step 3: Priming the Coil
Before you start vaping, it’s important to prime the coil – the part of the vape that heats the e-liquid. Priming means ensuring the wick inside the coil is saturated with e-liquid, so you don’t get a burnt taste.
To prime, simply add a few drops of e-liquid directly onto the coil and let it sit for a few minutes after filling the tank. This step is crucial for a pleasant vaping experience.
Step 4: Filling the Tank
Carefully fill your device’s tank with the e-liquid of your choice, making sure not to overfill it. Most devices have a max fill line indicated on the tank. Once filled, assemble your device (if necessary), and give it a few minutes to ensure the e-liquid soaks into the wick.
Step 5: Adjusting Settings (If Applicable)
Some devices come with adjustable settings such as wattage and temperature. As a beginner, it’s best to start with the recommended settings provided in the device’s manual and adjust from there based on your preference.
Higher wattage generally means more vapor, while lower wattage provides a less intense experience.
Step 6: Taking Your First Puff
To take your first puff, simply draw on the mouthpiece. Some devices have a button you press while inhaling, while others are draw-activated. Start with short, gentle puffs to get a feel for the vapor and flavor. There’s no need to inhale deeply as you would with a cigarette.

Step 7: Maintaining Your Device
Maintenance is key to enjoying vaping. Keep your device clean and charge the battery as needed. Regularly check your coil and replace it if you start to notice a burnt taste or a decrease in vapor production.
Coils typically need to be changed every 1-2 weeks depending on usage.
Step 8: Enjoying Responsibly
Finally, always vape responsibly. This means being aware of your surroundings and considering others who may not enjoy vapor clouds. Also, keep your device and e-liquid out of reach of children and pets.
Conclusion
Vaping doesn’t have to be complicated. By choosing the right device, understanding e-liquid, priming your coil, filling your tank properly, adjusting settings as necessary, taking your first puff correctly, maintaining your device, and vaping responsibly, you can enjoy your vaping experience right from the start.
Remember, the key is to start simple, go at your own pace, and enjoy the vast array of flavors and experiences that vaping has to offer.